All Fragpunk Lancers: Abilities and Guide
I’ve spent hours in the deep world of Fragpunk, studying every map, every weapon and every Lancer’s kit. My goal is to share the key strategies and insights so every reader becomes more confident in Fragpunk. This guide is all about each Lancer’s abilities, how they affect the gameplay and what works in live matches. You’ll get an in-depth look at unique techniques, synergies and counters for the entire roster of 13 Lancers.
Statistics, timings and damage values are also included to give you numeric clarity on each character’s performance in combat.
Broker – Expert of High-Impact Explosives

Broker controls space and blasts enemies into bits with area of effect tools. Practice rocket angles and trajectory to punish enemies who stay in tight corners. The combination of damaging explosives and vision blocking smoke makes Broker a top pick for crowd control. You must manage ability cooldowns and trap common rotation paths with bombs.
| Ability | Function | Damage | Extra Note |
|---|---|---|---|
| Rocket Launcher | Launches explosive projectiles with a large blast radius | Direct impact usually eliminates in 1 hit | Best used around corners or for pressuring foes behind small covers |
| Bouncing Smoke | Tosses a small device that forms a smoke trail along its bounce path | No direct damage | Creates a smoke wall or smoke sphere, limiting opponent sight lines in variable shapes |
| Cherry Bomb Cluster | Drops multiple small explosives on the ground that detonate on enemy contact | Each bomb inflicts moderate damage | Blocks enemy flanks and rotation paths, forcing foes to choose slower, safer paths |
Broker’s rocket pushes enemies away from objectives or behind cover, giving any coordinated push an advantage. Bouncing smoke trick confuses teams that rely on line of sight engagements. Cherry bombs offer psychological pressure especially near choke points. Observers often underestimate the cluster bombs until it’s too late and that’s where Broker has the upper hand.
Nitro – Reconnaissance and Trapping Specialist

Nitro supports her team by gathering valuable intel with her remote drone. This Lancer’s defensive traps and portable cover adds more control over objective points. Timing with Nitro is often the key, especially in organized teams, because proper scouting reveals the exact location of threats before they get there. The synergy between drone vision and map awareness makes Nitro a defensive play.
| Ability | Function | Damage | Extra Note |
|---|---|---|---|
| Remote Drone | Deploys a small, controllable scout that transmits visuals | Very low (20/shot) | Gathers information behind walls or corners, can be placed then re-activated remotely |
| Deployable Cover | Places a small shield on the ground for protection | None | Several can be stacked to form higher cover. Shield sections break under sustained fire |
| Trapping Auto-Turret | Deploys a turret that auto-targets nearby opponents | Moderate per tick | Effective for point defense, though it requires line of sight and can be destroyed |
Nitro’s cover is less durable than some other walls in Fragpunk, but the stacking feature helps create a custom vantage point in tight areas. The auto-turret is useful near bomb sites or capture points, where repeated defensive pressure might be the difference between a successful hold and a failed defense. Early reconnaissance with the remote drone is Nitro’s greatest strength, driving the team’s strategic decisions.
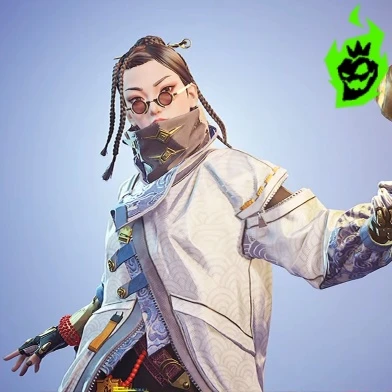
Hollowpoint – Long-Range Execution Expert
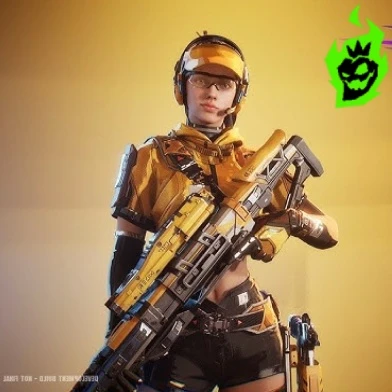
Hollowpoint is a sniper with single shot kill potential at medium to long range. The weapon charges up when aiming down sights and single body shot kills most of the time. To balance this out, Hollowpoint’s kit is all about vision control and scanning. Aim discipline, map awareness and knowledge of common vantage points is key to success for this Lancer.
| Ability | Function | Damage | Extra Note |
|---|---|---|---|
| Charged Rifle | Single high-damage shot upon full charge | Eliminates with 1 body shot | Requires a brief charge while aiming. Proper timing is crucial. |
| Expanding Smoke | Projects a horizontal smoke screen | None | Blocks enemy lines of sight, can be adjusted for length on activation. |
| Vision Trap Beacon | Reveals foes in a small radius through walls | None | Must be placed on the ground. Great for scanning behind cover or inside smokes. |
Positioning is everything with Hollowpoint. The ability to see foes with the Vision Trap Beacon combined with the Expanding Smoke makes her a mid to long range threat. Enemies forced to push through smoke lose time, giving Hollowpoint a moment to line up the perfect shot. Observers talk about her single bullet reliability so stay calm when aiming for the center mass.
Jaguar – Aggressive Control and Vision Blocker
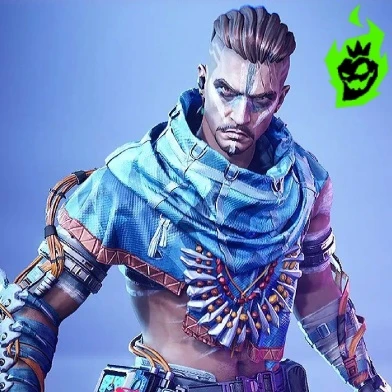
Jaguar hinders enemies with disorienting tools while boosting personal mobility. Aggressive players choose Jaguar to isolate opponents and chase them down with bursts of speed. This Lancer traps foes in a cage of illusions, limiting their sight while Jaguar circles around for the takedown. The synergy between high mobility and advanced illusions also helps on defense, punishing aggressive pushes that enter Jaguar’s territory unprepared.
| Ability | Function | Damage | Extra Note |
|---|---|---|---|
| Electric Trap | Creates a radius dealing consistent electrical harm | Low damage over time | Useful in choke points or around corners to force reposition |
| Vision Cage | Encloses opponents in a cube of blindness | None, but disorienting | Foes see nothing while inside. Stepping out removes the effect |
| Hunter’s Insight | Grants movement speed boost and reveals close foes | None | Stacks well with the cage, allowing Jaguar to see trapped targets quickly |
Jaguar’s Electric Trap may seem simple at first but a well placed device can hinder an entire team’s rotation. The real highlight of Jaguar’s kit is Vision Cage, an annoyance that hides allies’ movement while the target fumbles in confusion. Hunter’s Insight then adds the finishing touch, revealing exactly where the blinded victim is for a quick kill.
Chum – The Latest Aquatic Menace
Chum is the newest addition to Fragpunk, bringing a fish themed kit with ankle biting drones and variable smoke screens. Many are entertained by this character’s funny concept but the real threat lies in the layered approach to map control. Chum’s fish drone adapts to different tasks, either creating smokes or small explosions to disrupt the enemy’s formation.
| Ability | Function | Damage | Extra Note |
|---|---|---|---|
| Homing Fish Drone | Sends out a fish that bites and distracts foes | Minor ankle damage | Excellent for pushing enemies out of hiding or poking corners |
| Explosive Feed | Boosts drone for higher damage | Moderate on explosion | Feeds the fish an explosive snack, increasing its damage radius and potential for multi-hits |
| Smoke Feed | Transforms drone into a traveling smoke emitter | None | Spreads a long smoke path. Active control to aim the fish’s flight path, shaping battlefield cover. |
Chum’s second set of tools features standalone explosives and smokes that detonate on contact or impact with the ground. This includes a big smoke shell that envelops wide areas, perfect for denying sight on choke points. Pro teams sometimes build entire strategies around Chum’s versatile smoke coverage, to rotate safely or set up covertly.
Corona – Area Denial and Blinding Specialist
Corona imposes territorial control with damage zones and a flash-style ability. This Lancer revolves around controlling the immediate fight and confusing the enemy. The special dash also allows for quick escapes or aggressive enters. Each skill fits into a gameplay loop where Corona stands in a damage field, blinds opponents, then dashes away from counterattacks.
| Ability | Function | Damage | Extra Note |
|---|---|---|---|
| Forward Dash | Dash forward (or upward) for quick repositioning | None | Great for sudden escapes or surprise pushes |
| War Zone Field | Creates a damage-over-time zone, boosting Corona’s defense within it | Gradual damage ticks | Corona moves faster while inside. Opponents caught inside are weakened |
| Blinding Charge | Charges a flash that blinds all foes in a line of sight upon release | None | Combine with Dash to rush blinded targets or blind them from an angle |
Corona’s War Zone Field punishes anyone who tries to rush. Meanwhile the Blinding Charge forces foes to break line of sight or be disoriented. Proper timing locks opponents in a losing fight if they stay in the War Zone. Field management is key, Corona is a solid pick for holding choke points or defending planted objectives.
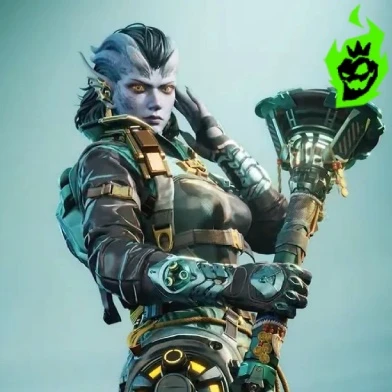
Serket – Teleportation and Crowd Control Expert
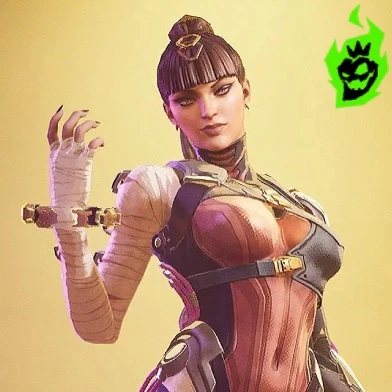
Serket has mobility and crowd control through wind or sand effects. Smooth repositioning is possible with a teleport skill that requires a target location. A tornado also blocks vision and slows enemies inside. Finally Serket’s gravity device drags opponents towards a chosen point, perfect for teammates to chain up attacks.
| Ability | Function | Damage | Extra Note |
|---|---|---|---|
| Spatial Teleport | Instantly moves Serket to a targeted spot | None | Potentially pass over walls or obstacles if line of sight is established |
| Tornado Field | A swirling storm that slows and obscures vision | Low damage over time | Option to stop the tornado in place to enlarge its effect and hamper multiple opponents |
| Graviton Pull | Launches a device that pulls enemies into the center upon impact | None, but sets up combos | Great for corner traps or to group foes for explosive follow-up from allied Lancers |
Serket’s unpredictability comes from the instant map reposition. Although Teleport has no direct damage, the freedom to skip around obstacles or engage from unexpected angles creates unique playstyles. The synergy between Tornado Field and Graviton Pull increases crowd control potential, forcing multiple foes into bad positions. Skilled Serket players often coordinate with high damage teammates to finish the job.
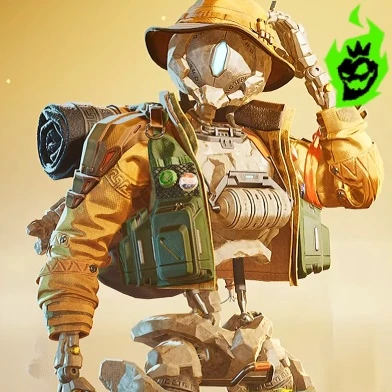
Pathojen – Poison Immunity and Healing Support
Pathojen has healing, poison immunity and a deployable wall. This Lancer is for teams that need sustain and area denial. Enemies going through poison fields take cumulative damage that hinders their ability to fight or rotate. Meanwhile Pathojen’s ability to nullify poison damage from others means she won’t take poison damage from opponents in mirror matches or group fights.
| Ability | Function | Damage | Extra Note |
|---|---|---|---|
| Toxic Immunity | Passive trait that prevents poison damage | None | Counters other Pathojen users, ensuring no poison tick trade-offs on this Lancer |
| Healing Field | Recovers health for Pathojen and nearby allies | None (healing) | Allows the team to outlast opponents in extended fights |
| Poison Grenade | Remote-controlled grenade that releases poison AoE | Gradual damage | Press again for manual detonation. Effective for zone control and deterrence |
| Deployable Wall | A single barrier that obstructs line of sight | None | Easier to break than some covers, but provides quick protection |
Pathojen’s healing can keep teams healthy in long fights, which affects how the map is held. The poison grenade disrupts an area and often punishes opponents who rotate predictably. This synergy between healing, wall deployment and poison denial makes Pathojen a support with an edge.
Zephyr – Cloaking and Surprise Attacks
Zephyr is all about deception, with multiple stealth abilities that confuse opponents. Cloaking, invisibility fields and a teleport anchor create endless ambush opportunities for clever strategies. Observers often call Zephyr an assassin who shows up at unexpected angles with melee or short range follow-up. Teams without consistent area scanning often get caught out by Zephyr’s hidden approach.
| Ability | Function | Damage | Extra Note |
|---|---|---|---|
| Cloaking Device | Enables short-term invisibility, restricting weapon usage | None | Melee is possible while cloaked, but direct confrontation is risky |
| Cloaking Aura | Projects a circular field where Zephyr remains invisible indefinitely | None | Stepping outside the field reveals slight silhouette, so positioning is key |
| Anchor Teleport | Places an anchor that returns Zephyr to the set location upon reactivation | None | Possible to combine with Cloaking or Cloaking Aura for stealth escapes |
Zephyr relies on timing. Cloak is short enough to dodge enemy crosshairs or slip behind unaware defenders. Anchor before infiltration for a quick exit. In the right hands, Zephyr outmaneuvers slower foes and capitalizes on small mistakes in their defensive lines.
Spider – Relocation Trickster
Spider manipulates the map by moving allies or teleporting enemies out of cover. Mind games come to life with double-teleport combos and disorienting traps. The offense comes from dropping an enemy into a bad spot, while the defense is when allies rush between two points via Spider’s personal teleporter.
Spider’s kit requires map awareness. Placement of teleporters dictates the team’s rotation and how fast backup arrives. Forced teleport on enemies helps isolate threats or send them away from an objective. Good Spider players know where each teleporter is to set up ambushes.
Spider’s Device List
- Dual Teleporter Pads: Two pads on the ground to switch between locations. Allies walk on them to teleport.
- Forced Teleport Grenade: Thrown grenade that teleports a targeted enemy to Spider’s location.
- Trap Blast: Blinds and slows enemies in a designated area, weakening them for a follow-up push.
Spider’s forced teleport catches enemies, especially if they get dropped into allied fire. Teleporter pads also improve map movement for the whole team, allowing for quick repositioning between bomb sites or vantage points. Good communication with teammates means everyone knows how and when to use the pads.
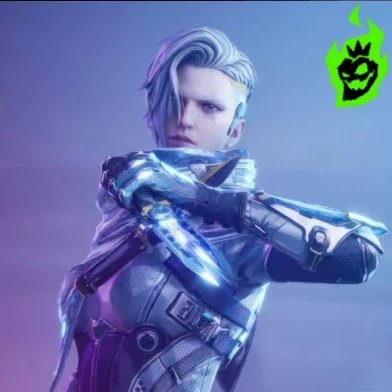
Kismet – Radar Scanning and Stealth Infiltration
Kismet excels at scanning hidden enemies then repositioning. This Lancer’s unique detection system sees through walls, giving the team a huge reaction time advantage. Once detected, Kismet can teleport and become intangible, though the screen also blocks the user’s view. A combination of scouting and surprise movement is Kismet’s playstyle.
Kismet thrives on short bursts of intel gathering then capitalizes on it with a single damaging grenade. The detection radius if used in the right spots anticipates enemy presence and sets up an easy follow-up. The intangible teleport requires careful use as misjudging the exit location puts the user right into an enemy corridor.
Kismet’s Main Stats Table
| Kismet Abilities | Purpose | Damage | Key Observation |
|---|---|---|---|
| Radar Pulse | Detects opponents in close range through walls | None | Perfect for peeking around corners. Data must be relayed swiftly. |
| Impact Grenade | Throwable device that inflicts 100 damage | 100 direct | Enough to drop an enemy to 1/3 health if thrown precisely |
| Intangible Teleport | Renders the user invulnerable while moving | None | Blind to enemies’ positions while in transit, so exit carefully |
Kismet’s grenade does solid burst damage, so use it as a follow-up when an enemy has been detected. The intangible teleport covers ground that would be too risky otherwise. Team synergy is required as Kismet’s abilities revolve around quick comms and capitalizing on location data.
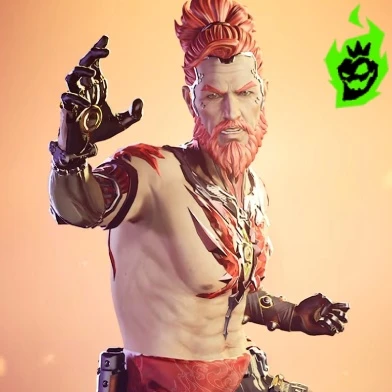
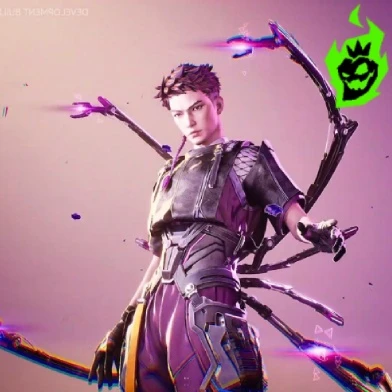
Axon – Guitar-Wielding Bruiser
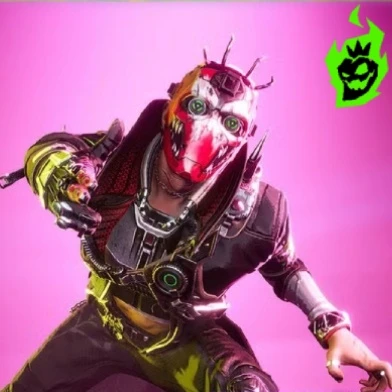
Axon used to dominate the movement meta with unlimited slides, but changes have made it more balanced. The guitar shotgun no longer appears as the default weapon – Axon must activate the guitar form to slide. In this state Axon fires two shells per burst, reloads on kill or on switching back to primary weapon. The star power comes from Axon’s sticky bomb and mask that blocks blinding effects.
Axon is a rock-star with flashy close-range takedowns especially when sliding into close quarters. The sticky bomb bounces around corners until it hits an enemy or times out, perfect for flushing out enemies from cover. Immunity to flash grenades during the mask’s active duration makes Axon a fearless frontline role.
Axon’s Rock Table
- Guitar Mode: Grants sliding movement and two-shot burst damage.
- Sticky Bomb: Bounces off walls until contact.
- Mask Immunity: Blocks all flash effects for the duration.
Axon lost the permanent slide but is more balanced now. Once the guitar is active, Axon slides to close the distance and bursts at point-blank range. Enemies retreat if they see that guitar fearing the unstoppable slide and sticky bomb that chases them around corners. Mask immunity also makes Axon unconquerable against teams that rely on flash tactics.
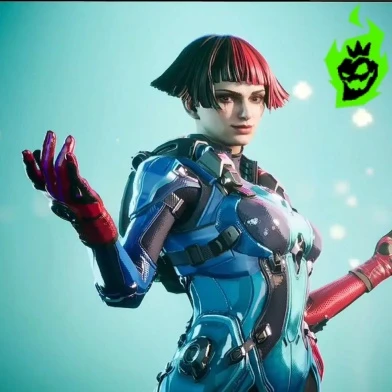
Sonar – Audio Tracker and Sonic Disruption
Sonar focuses on advanced sonar technology, tracing enemy movements through echoes. This Lancer’s primary ability is an echo placement that reveals any movement in its radius. The second skill is a sonic surge that knocks enemies up and stuns them briefly. Finally, Sona’s personal stealth skill silences footsteps and disregards detection from other sonar devices.
Sonar provides useful crowd control and reconnaissance. The echo device reveals hidden flanks and quiet pushes, but must be on the ground. The sonic surge stuns clustered foes, perfect for halting a rush or punishing a cluster near an objective. Footstep silence also allows Sona to approach unsuspecting defenders for closer engagements.
Sonar’s Tools
- Echo Locator: Placed on the ground; scans movement in a set radius, reveals positions for the team.
- Sonic Surge: Linear wave that stuns and knocks foes up, interrupts their aim briefly.
- Silent Step: Dampens footsteps and negates Sona’s detection from other sonar-based abilities.
Sonar’s echo device is best deployed in high-traffic or flank-prone areas. Combining that with a well-timed sonic surge turns the tide in corridor fights. Silent footstep also gives Sona an infiltration route that an enemy echo device would otherwise catch.
Lancer Synergies and Additional Tips

Fragpunk team composition often revolves around combining abilities to create unstoppable pushes or unbreakable defenses. Examples include deploying Jaguar’s Vision Cage and following up with Serket’s Graviton Pull to trap multiple enemies in disorientation, or having Broker’s cherry bombs laid out while Kismet’s radar reveals incoming enemies. Each synergy comes from good communication and understanding of how abilities overlap.
Useful Coordinated Tactics Table
| Lancer Combo | Effect | Outcome |
|---|---|---|
| Broker + Nitro | Smoke cover plus drone scouting to set up rocket ambushes | Forces opponents into tight corners |
| Jaguar + Serket | Vision Cage plus Graviton Pull for grouped foes | Keeps multiple enemies locked in a blind trap |
| Chum + Corona | Traveling smoke plus War Zone Field to corner enemies | Opponents must choose heavy damage or zero vision |
| Spider + Kismet | Teleporter synergy plus radar detection for surprise flanks | Rapid relocation with advanced intel |
The Lancers coordinated together determines how strong a team is. Agile combos force enemies into desperate situations, giving time to take objectives. Speed, timing and creative use of traps, teleports and smokes is the meta at higher levels of play. By combining the right Lancers, teams go from reactive to proactive, directing the flow of the round.
Fragpunk’s Roster

The Fragpunk roster offers a diverse set of damaging heroes, support characters, vision controllers and stealth specialists. Understanding the synergy between their abilities unlocks new ways to push, defend and outmaneuver other teams. Practice reveals each Lancer’s true potential, especially when paired with others in strategic ways. Knowing your own limitations is key: a short dash or a single deployable wall can change the outcome of a fight in unpredictable ways.
Each Lancer has unique traits – Broker’s direct impact rockets, Hollowpoint’s rifle, Zephyr’s stealth, etc. The variety allows for different playstyles every match. Whether teams want to hold angles, outmaneuver enemies or control space with smokes and traps, the game offers options for defensive and offensive play. Over time players develop synergy not just with their chosen Lancer but with the team composition as a whole.