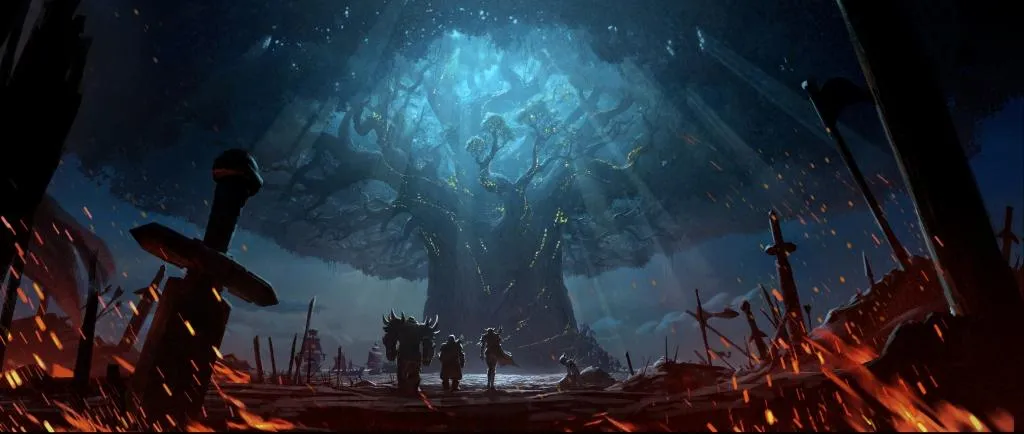
Fragpunk Weapon Tier List
Every game reveals a new layer of strategy. My personal journey involved trying out all 15 weapons in Fragpunk matches. The thrill of getting headshots, controlling the recoil and timing the reloads is part of the fun of mastering each loadout. During these playthroughs I took notes on damage values, ammo and movement. My findings will help others find the right weapons for their playstyle and show how these weapons change in a fast paced Fragpunk match.
Fragpunk Armory
I remember the first time I tried to find the best weapons in Fragpunk. It was overwhelming with so many weapons but eventually patterns started to emerge. Movement speed, recoil and spread all influenced how I approached each game. Playstyle also affects weapon choices, some like to push aggressively with shotguns while others like to take it more methodical with DMRs or snipers. Weapon tiers are not just random labels, they reflect reliability, kill time and synergy with the skills in Fragpunk.
Even with a good understanding of the stats it’s wise to switch loadouts every now and then to keep it fresh. Running the same assault rifle can get repetitive and switching to a different gun will reveal new tactics. Watching the synergy between your main weapon and sidearm is another layer to explore. Despite all that depth Fragpunk isn’t impossible to master, especially once you decide which tier fits your playstyle.
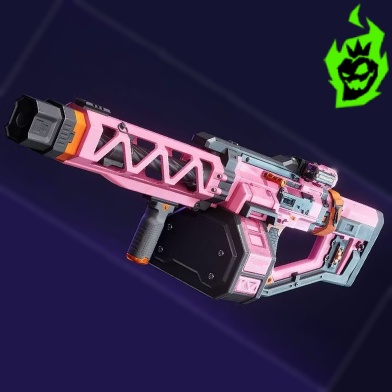
Assault Rifles: Discipline and Fever
The Fragpunk assault rifle category has the Discipline and the Fever, both are solid all round options. In my experience these are good for mid to long range. The big difference is fire rate vs damage which is a choice between a faster fire or a heavier hit. Testing them side by side reveals subtle mobility differences too. Below is a comparison table with the core stats and tier placement.
| Assault Rifle | Damage (Per Shot) | Fire Rate (Rounds/Sec) | ADS Speed | Movement Speed (m/s) | Tier Rating |
|---|---|---|---|---|---|
| Discipline | Moderate (Approx 26) | High (Approx 10) | Slightly Faster | 4.6 | S |
| Fever | Higher (Approx 30) | Moderate (Approx 8) | Slightly Slower | 4.5 | S |
I carry Discipline when I want a constant stream of bullets that reduces the window for the enemy to react. Its fast fire rate and manageable recoil pattern allows for follow up shots. Fever compensates for slower fire rate by hitting harder per shot, making each bullet more punishing. When fractions of a second decides the game in Fragpunk, both of these assault rifles are top tier.
 Gold
Gold
![]() Lancer Unlock
Lancer Unlock
![]() Boxes & Weapon Charms
Boxes & Weapon Charms
![]() 100% Safe & Secure Service
100% Safe & Secure Service
 Battle Pass Level
![]() Legendary Lancer Skin
Legendary Lancer Skin
![]() Currency & Pop Cans
Currency & Pop Cans
![]() Stickers & Weapon skins
Stickers & Weapon skins
 Weapons Leveling
![]() Unqiue weapon skin
Unqiue weapon skin
![]() XP & Seasonal Rewards
XP & Seasonal Rewards
![]() 100% Reliable Service
100% Reliable Service
 Account Leveling
![]() Max Account Progress
Max Account Progress
![]() Events & Battle Pass Rewards
Events & Battle Pass Rewards
![]() Gold & Glunite Coins
Gold & Glunite Coins
![]()
![]()
Discipline and Fever are the definition of consistency in Fragpunk. I put them both in the S tier since they do great damage in almost any situation. They combine rate of fire, accuracy and movement speed which makes them essential in many team compositions or solo plays. Newcomers to Fragpunk or veterans looking for stable rifles will find these two options remain relevant in any meta change, so they will stay in the top picks.
DMRs: Bad Reputation and Bad Moon

DMRs in Fragpunk deliver fast elimination at medium to long range. Bad Reputation and Bad Moon are the embodiment of that. They differ mainly in damage per shot and fire rate. One is higher damage at the cost of slower fire rate and the other is faster fire rate with lower damage. During my testing, each rifle had its strengths in skill based engagements. Below is the main stats and tiers.
| DMR | Headshot Potential | Body Shot Requirement | Fire Rate (Rounds/Sec) | Mag Size | Tier Rating |
|---|---|---|---|---|---|
| Bad Reputation | 1 tap at closer ranges | 3 shots on the body | Slower (Approx 4) | 12 | S |
| Bad Moon | 2 taps at any range | 4 shots on the body | Faster (Approx 5-6) | 15 | A |
Bad Reputation is for accurate shooters who focus on headshots, especially in tighter spaces. Missing headshots will prolong a fight but the weapon’s decent body shot damage will still compensate. Bad Moon is for those who prefer a quicker engagement style, allowing multiple shots to land in quick succession. Despite less damage it’s still a solid pick for more forgiving fire rate during intense Fragpunk duels.
The DMR class gives mid-range supremacy. Bad Reputation leads with lethal headshots, Bad Moon supports those who prefer faster bullet output. Both has enough stopping power to shift momentum but Bad Reputation gets S tier due to its devastating close range headshot potential. Bad Moon is A tier for flexible firing in situations where an extra shot or two will seal the deal.
SMGs: Clamp Down and Mad Dog
SMGs are great for close quarter firefights, they have decent hip-fire accuracy and mobility in Fragpunk. I used both Clamp Down and Mad Dog in many matches and each one felt great for quick rushing or point captures. There’s some difference in damage and firing speed but both are solid for those who want a smaller but agile weapon.
Below is a short list of SMG features and tiers:
- Clamp Down
Remarkably easy to control recoil
Ammo depletion is fast due to quick firing
A tier rating - Mad Dog
Stronger damage per bullet
Slightly slower firing speed
S tier rating
My squads use Mad Dog to finish off opponents quickly because it deals a lot of damage up close. Clamp Down is good for those who expect longer bursts without losing accuracy but the mag empties fast. In a head-to-head between the two SMGs Mad Dog takes the top spot by dealing more damage in shorter exchanges.
SMGs are favorite among players who enjoy high intensity up-close fights in Fragpunk. Clamp Down is A tier due to its easy recoil control and fast fire rate but requires more reloads. Mad Dog is S tier because it outdamages the opponent with powerful bullets thus ending close range fights faster. Either way SMG enthusiasts will find these weapons useful in fast paced matches.
Shotguns: Meat Maker and Boom Broom
Shotguns in Fragpunk fit a specific playstyle: pushing into corridors or defending choke points with explosive force. Meat Maker and Boom Broom each bring a different approach to close range engagements. One is pump-action and rewards precision, the other is semi-auto and spews multiple shells. A glance at the table will tell you how they shape up.
| Shotgun | Shot Type | Approx 1-Shot Range | Fire Rate Style | Movement Speed | Tier Rating |
|---|---|---|---|---|---|
| Meat Maker | Pump-Action | Short to Mid | Slower | Standard | S |
| Boom Broom | Semi-Auto | Extremely Short | Faster | Slight Increase | A |
I personally like Meat Maker when flanking corners, it’s all about that one powerful shot to dispatch enemies quickly. The pump-action is deadly if each shell is placed accurately. Boom Broom spews more shells in quick bursts but each shot has less range to do major damage from slightly farther away. Combined with the small movement bonus it’s still a good pick but ultimately ranks below its pump-action counterpart.
The shotgun class in Fragpunk gives adrenaline junkies a rush. Meat Maker is S tier for its one-shot potential and range. Boom Broom is A tier for faster follow-up shots but narrower effective distance. Both are great in small corridors but each suits a different level of precision and aggression.
LMGs: Ghost Pepper and My Way
When it’s time to suppress an entire lane and hold the frontline in Fragpunk, LMGs are the go-to option. Ghost Pepper and My Way are two different approaches to heavy firepower. One focuses on predictable handling but with a charge-up delay, the other is more mobile but requires more reloads. The table below breaks it down.
| LMG | Charge-Up Needed? | Ammo Capacity | Fire Rate (Approx) | Movement Speed | Tier Rating |
|---|---|---|---|---|---|
| Ghost Pepper | Yes | 100 | Slower (Approx 6) | Slow | A |
| My Way | No | 50 | Faster (Approx 7-8) | Slightly Better | S |
I found out that Ghost Pepper is very stable once it gets going with minimal recoil causing tight bullet patterns. The extra rounds reduces downtime between reloads which can be useful when defending an objective. My Way doesn’t require charge-up so it’s ready to fire at will but the magazine is smaller. The combination of higher mobility and no pre-fire delay puts My Way slightly above its counterpart.
LMG enthusiasts in Fragpunk often use these two for area denial and sustained pressure. Ghost Pepper gets points for large magazine and minimal recoil making it a great choice for long firefights. My Way gets the S tier for faster fire rate and immediate shooting response. Both LMGs are good for controlling space but My Way edges ahead for those who prefer quick transitions.
Snipers: Resolver and High Life
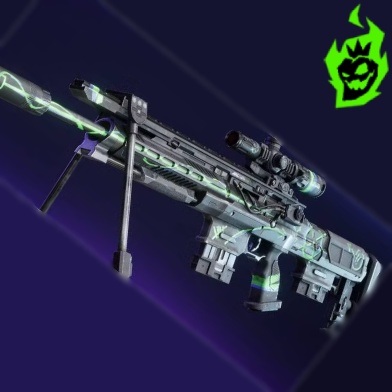
Snipers in Fragpunk create intense moments especially when you get a headshot from afar. Resolver and High Life each deal massive damage that shifts momentum quickly. Every bullet counts in this category so timing and positioning is key. Here’s a quick rundown of their top features and tier ratings:
Resolver
One headshot eliminates a foe at any range
Body shot at moderate range often results in a single elimination
S tier rating
High Life
Quicker overall firing cycle
Only one-shot eliminates with a body hit at very close range
A tier rating
I like Resolver for taking out priority targets from a distance. Its one-shot to the head is dominant in many situations. High Life has a faster follow-up and a three-bullet spread when firing from the hip almost like a mini-shotgun. Although it has synergy with certain playstyles, Resolver is the more versatile sniper for general use.
Sniping in Fragpunk is for players who like to take their time and aim precisely. Resolver leads the pack with near infinite headshot range and strong body-shot damage at medium range. High Life still has its advantages like faster fire rate and a spread that surprises enemies up close. Both are good but Resolver is the top dog for long-range takedowns.
Pistols: Cure All, Vicious, and Cold Shoulder
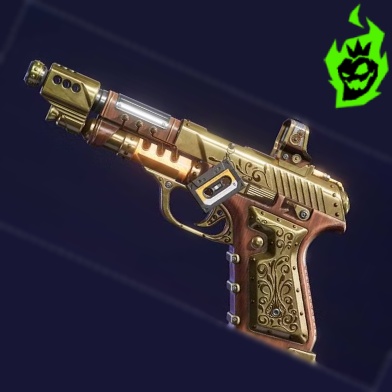
Sidearms often decide the outcome of close quarters in Fragpunk especially when primary weapons are reloading. Cure All, Vicious, and Cold Shoulder are different philosophies: shotgun-like versatility, headshot-driven power or rapid but weaker shots. The table below breaks it down.
| Pistol | Special Mechanic | Shots to Eliminate (Body) | Headshot Damage | Mag Size | Tier Rating |
|---|---|---|---|---|---|
| Cure All | Shotgun-like burst when hip-firing | Variable, approx 3-4 | High if aimed | 6 | B |
| Vicious | High-caliber design for 1-tap headshots | 3 body shots | 150+ at close | 7 | B |
| Cold Shoulder | Semi-auto with lower damage output | 4-5 body shots | Strong but not 1-tap | 8 | C |
I switch between Cure All and Vicious for sidearm support. Cure All is good for hip-firing in close quarters, acting like a miniature shotgun. Vicious rewards precise aim for a possible one-tap up close. Cold Shoulder lags behind, requiring multiple body hits and having fewer advantages in the close quarter pistol battles of Fragpunk.
A pistol is a nice addition to your Fragpunk loadout. Cure All and Vicious are both B tier, good situational tools but not overpowered compared to your main weapon. Cold Shoulder is C tier, you need many shots to finish the job and it’s lackluster in most 1v1s. Choosing the right sidearm will oftentimes save your butt so it’s worth considering for everyone.