Fragpunk Relic Tier List
Fragpunk is a high octane shooter where players use Relics to get unique advantages every match. Getting top frag often comes down to choosing the right Shard cards and selecting the best Relic from the 9 available in the game. I have tested these Relics extensively, played dozens of matches to fine tune a Tier List. Every Relic has a specific boon or drawback that impacts a team’s Fragpunk strategy.
Understanding Fragpunk Relics
Fragpunk Relics stay active after you pick in the Shard card phase, giving teams long lasting advantages that fit different playstyles. Each teammate can choose one Relic, so synergy, timing and resource management are key to success. Many Relics are about Shard point generation, others about HP recovery, damage boost or card pool manipulation. By understanding how each Relic affects the team’s momentum, players often get a decisive edge. Early activation and consistent use of these bonuses can turn a standard game into a game changing performance.
A well coordinated team can combine Scales of Unity, Hunting Amplifier or Risky Ring for explosive synergy, but each item rewards specific playstyles. Objective based teams benefit from buffs tied to converter actions, planting and defusing, while kill focused players will prefer relics that give Shard points from takedowns. Some relics like Pendant of Status or Astral Blessing are about controlling the Shard card deck to get high value cards at the right moment. Relics like Oasis Guardian or Protective Chime are trigger based, rewarding teams that plan their resources and attacks to exploit those triggers. Choosing the right Relic depends on your team’s approach, so these persistent bonuses are a key part of Fragpunk’s competitive core.
S-Tier Relics in Fragpunk
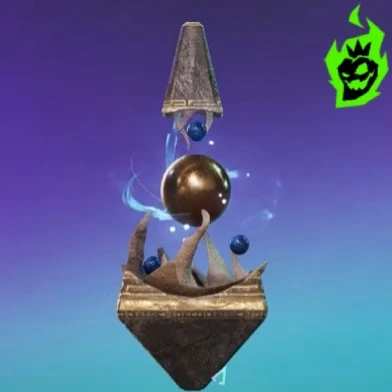
S-Tier Relics in Fragpunk are the ones that give you incredible value across the board. In my matches these Relics carry teams by giving reliable boosts to Shard point economy or unlocking powerful synergy with other strategic elements. The best part is they are consistent, an S-Tier Relic never feels situational or forced. Below is a short breakdown of these top tier choices along with what sets them apart. This might help you find the Relic that changes your whole Fragpunk approach.
| Relic | Key Features |
|---|---|
| Scales of Unity | Gains extra Shard points from planting/defusing the converter and kill assists, no real downside |
| Pendant of Status | Locks an inactive Shard card, allows a future swap to reintroduce it, helps secure crucial Legendary picks |
| Astral Blessing | Redraws a lower-cost card for free every round, filters out undesirable picks at zero expense |
These S-Tier Relics in Fragpunk are flexible and often tilt the economy or synergy in your favor. Scales of Unity gives you consistent Shard points especially when someone on your team is playing objective. Pendant of Status keeps crucial Shard cards safe for later rounds and Astral Blessing improves your deck quality through free redraws. Individually they are strong, together they are unstoppable for a well coordinated team. Players looking to refine their strategy should keep these S-tier options in mind for stable success.
A-Tier Relics in Fragpunk
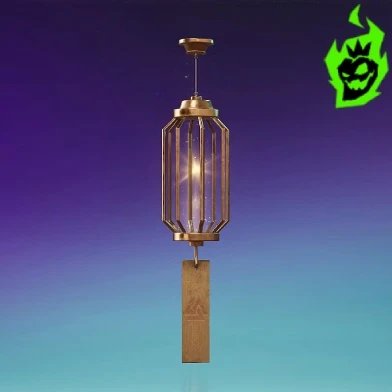
A-Tier Relics in Fragpunk are strong but require a bit more planning to max out. These items give you significant advantages but have specific conditions or minor drawbacks that prevent them from being totally unbeatable. In my experience an A-Tier Relic impacts a match in a big way when used by a player who knows what they are doing. Any coordinated team that invests in at least one A-Tier choice will see some improvement in round results. Below is a table describing each A-Tier Relic along with the highlights.
| Relic | Key Features |
|---|---|
| Protective Chime | +0.5 Shard point for each death or lost round, supports steady comeback |
| Gambler’s Prism | Redraw transforms the selected card into a higher-cost option, requires 1 Shard point to do so |
Protective Chime thrives when players struggle in early rounds, giving the team Shard card bank over time. It won’t always be dominant if you are already winning but shines when the momentum turns. Gambler’s Prism is for risk-takers who want to chase high-cost Shard cards, but taxes the team’s resources every time a redraw happens. Even so both of these A-Tier Relics in Fragpunk have a place in competitive environments. Their utility is broad enough to justify frequent use especially when your team is looking for extra flexibility.
B-Tier Relics in Fragpunk
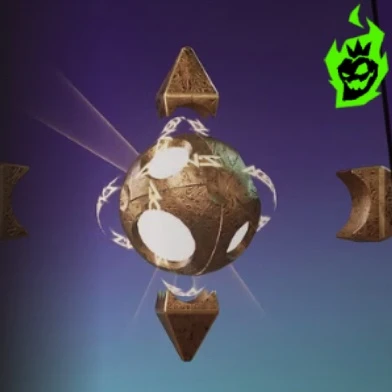
B-Tier Relics in Fragpunk offer moderate value but have noticeable limitations or inconsistent payoff. They might fit certain playstyles or match conditions but struggle to be top tier on a regular basis. In my experience these Relics are items that revolve around specific tasks or rely heavily on a single player’s performance. Those who pick a B-tier will invest in more specialized strategies but the payoff varies greatly. Below is a summary table of the B-Tier Relics and their features.
| Relic | Key Features |
|---|---|
| Hunting Amplifier | +1 Shard point per kill, but no longer earns any from round wins/losses |
| Lucky Sensor | Redraw triggers a higher-rarity card, but the redraw cost is +2 points (potentially 3 total) |
The biggest gamble with Hunting Amplifier is a player’s ability to get multiple kills per round. In some cases it will propel a top-fragger to a comfortable lead, but someone who dies early gets nothing. Lucky Sensor increases the chances of drawing Legendary or Epic cards but the resource cost might limit your flexibility in crucial rounds. Although each B-tier Relic is functional in the right hands they rarely exceed the performance of higher tier items. They are situational so less appealing when more reliable options are available.
C-Tier Relics in Fragpunk

C-Tier Relics in Fragpunk are those that rarely dictate the flow of a match. They have some value but the situations in which they truly shine are narrow. When they do trigger the impact can be big but that trigger happens much less often compared to other picks. A few teams find ways to incorporate them but overall reliability is questionable. Below table shows which relics are in this category and what holds them back from higher tier.
| Relic | Key Features |
|---|---|
| Oasis Guardian | Gradual HP regen if all three Shard cards are used in a round, rarely triggers due to cost |
| Risky Ring | +10% DMG if only one card is activated in a round, conflicts with typical two- or three-card usage |
Oasis Guardian may look powerful on paper but the requirement of playing all three Shard cards in a round is quite strict. Only teams that have enough resources and agree to load up each round will benefit from the HP regen. Risky Ring is for players who want extra damage but the limitation of using only one Shard card stifles flexibility. Both relics have niche uses but rarely match the universal value of S-tier or A-tier picks. Anyone experimenting with these relics should have a strong team plan in mind to get any kind of consistent performance.
Strategies for Using Relics
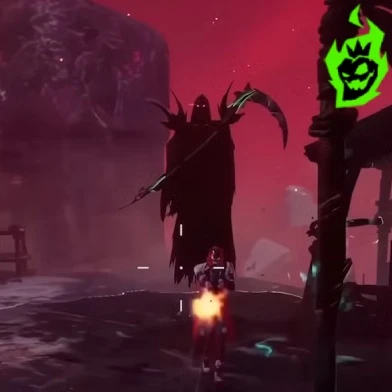
Key Strategies for Using Relics revolves around coordination, synergy and awareness of the overall economy of Fragpunk. An organized approach means each teammate’s pick complements the others rather than creating resource conflicts. Focusing on how your Relic interacts with the team’s objective might open up new strategies especially if you are building around planting and defusing the converter. Some teams even mix an S-tier with a B-tier to create unusual but powerful combinations. Below are a few ideas when selecting and using Fragpunk Relics for maximum teamplay.
- Coordinate the Converter – When someone runs Scales of Unity, funnel the converter to that individual for extra Shard point generation.
- Lock High-Value Cards – If your group uses Pendant of Status, remember to preserve crucial Legendary picks for when enough resources are available.
- Plan for Comebacks – Protective Chime grants resources in losing scenarios, so it meshes well with teammates who thrive on reversing a disadvantage.
- Redraw Wisely – Astral Blessing or Gambler’s Prism involves careful decisions to secure the best Shard cards and avoid overspending.
- Damage and Economy – Risky Ring or Hunting Amplifier revolves around personal performance, so choose them only if you feel confident fragging.
These strategies show how synergy should guide your Relic choice especially when you want to get an advantage. Open communication with your teammates about which Shard cards to buy each round makes Risky Ring or Oasis Guardian more effective. Relics that change the deck like Astral Blessing or Lucky Sensor requires group consensus to make sure the resources align with your team’s priorities. Overall understanding the deep interplay between Relics, Shard cards and round objectives is key to any serious Fragpunk player. I see many teams rise in ranks just by applying these ideas one round at a time.
