Fragpunk Lancers Season 1 Tier List: Pro Gamer Opinion
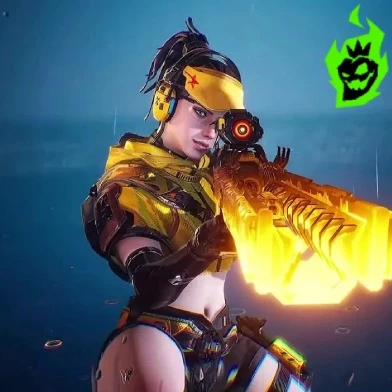
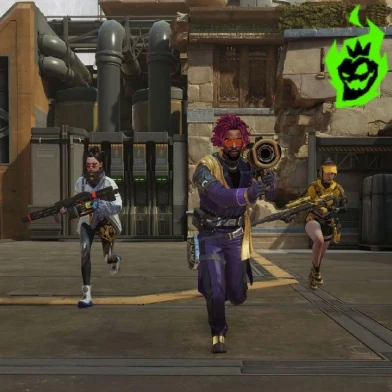
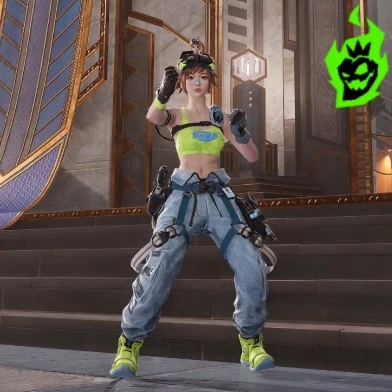
Fragpunk is a fast-paced tactical shooter that rewards smart thinking and precise movement. In this world every Lancer has a specific role in controlling the battlefield. This guide is a Fragpunk Lancers Tier List that highlights every Lancer’s strengths and weaknesses. My personal experience at high levels of play is behind each analysis here. Expect details on skill damage, vision support, teleportation and more throughout.
S-Tier Lancers: The Best in Fragpunk
 S-Tier Lancers in Fragpunk are top tier and reliable. Each one has an amazing toolset that impacts every match. Their abilities are often around advanced intel gathering, powerful damage sources or supportive mechanics that have game changing potential. Here’s the full breakdown.
| S-Tier Lancer | Abilities | Key Tips |
|---|---|---|
| Nitro | “Chug Chug” Drone (Damage + Intel), Protective Walls (Cover), Pew Pews (Reveal & DPS) | The drone deals 20 DMG per shot. Pair walls with drone for safe intel. Pew Pews inflict 5 DMG/tick, stacking to 10 DMG if placed close together. |
| Hollowpoint | Charged Sniper (One-hit Bodyshot), Smoke Screen (Crowd Control), Sonar Detector (Wall Reveal) | The sniper shot eliminates foes with a charged body shot. Smoke reveals targets caught inside. Sonar Detector latches onto enemies who pass through. |
| Pathojen | Healing Pool (Team Sustain), Fortification Walls (Cover + Firing Angles), Poison Pool (Timed Explosion) | Healing Pool helps keep allies alive in extended fights. Walls feature tight gaps for punishing crossfire. Poison pool triggers on command, forcing goes to reposition. |
| Zephyr | Invisibility (Extended Duration), Static Cage (Stealth Maintenance), Teleport Marker (Safe Escape) | Going invisible from behind yields one-hit melee kills. The cage maintains an invisibility meter. Teleport marker helps avoid detection after a swift elimination. |
| Kismet | Enemy Reveal (Within Radius), Holy Grenade (100 DMG AoE), Short-Distance Teleport (Fast Movement) | Passive reveal detects nearby foes. Holy Grenade ignores certain covers. Quick teleport crosses obstacles and pairs perfectly with smoke-based pushes. |
These S-Tier Fragpunk Lancers control every phase of the match with their amazing abilities and synergy. Nitro has battlefield control, Hollowpoint gets quick eliminations, Pathojen has team sustain. Zephyr’s stealth confuses enemy lines and Kismet reveals based aggression. Choosing any of these lancers gives you an advantage in ranked and casual. Each one requires thoughtful positioning, good timing and teamwork.
A-Tier Lancers: Strong Contenders in Fragpunk

A-Tier options in Fragpunk have powerful toolsets that impact the match. While not as strong as S-Tier in raw power or versatility, these lancers have a specific role and deliver consistency. Their combos are around solid damage, strategic utility or partial vision control. When used well they threaten enemy squads with skillful plays. Here’s the breakdown for each A-Tier lancer.
| A-Tier Lancer | Abilities | Key Tips |
|---|---|---|
| Broker | Shoulder Rocket (High Burst), Coin Smoke (Extended Cover), Trap Orbs (Area Denial) | Shoulder Rocket knocks foes back or eliminates on direct hits. Smoke forms long lines for flanking. Trap orbs inflict around 80 DMG each, requiring two orbs for a takedown. |
| Serket | Orb Teleport (Flank or Scout), Tornado Smoke (Wide Cover), Gravity Trap (Pull Enemies) | Orb transforms the lancer into a ball that scouts enemies. Tornado grows on command, offering huge smoke coverage. Gravity Trap disrupts foes by yanking them out of position. |
| Spider | Team Teleporter (Linked Portals), Orb Snatch (Enemy Teleport), Spider Trap (Temporary Blind) | Team Teleporter connects two areas for fast rotation. Orb Snatch forces hidden opponents into open space. Spider Trap blinds targets who step on it, setting up free shots. |
| Axon | Guitar Shotgun (Continuous Usage), Sticky Grenades (Chain Explosions), Flash Immunity (Anti-Blind) | Guitar transforms into a potent shotgun that persists with kills. Sticky Grenades crowd control small rooms. Flash Immunity counters certain Lancer combos reliant on blinds. |
| Sonar | Sonar Pillar (Movement-Based Reveal), Sonar Beam (Wall Piercing), Silent Steps (Brief Noise Suppression) | Sonar Pillar triggers detection on moving enemies. Sonar Beam tags targets and lifts them, exposing positions. Silent Steps lasts a few seconds, helping with stealth flanks. |
Each A-Tier Fragpunk Lancer fits a team’s strategy. Broker’s rockets and smokes for entry kills, Serkett’s teleport and tornado for defender disruption, Axon’s shotgun for close quarter and Spider’s map wide teleport for confusion. Sonar punishes careless movement on the map. Learn their kits and you’ll get surprising results in coordinated matches.
B-Tier Lancers: Decent Options for Fragpunk

B-Tier picks in Fragpunk offer situational value but lack the raw power of higher tiers. Each one has strengths in specific situations but also weaknesses in synergy or damage. Success with these lancers depends on clever play or niche strategies. Opponents who underestimate them will get roasted, but experienced teams will exploit their weaknesses. Check out the table below for B-Tier characters.
| B-Tier Lancer | Abilities | Key Tips |
|---|---|---|
| Jaguar | Ground Trap (High Damage if Enemies Remain), Vision Cage (Obstruct Visibility), Smoke (Mediocre Coverage) | Trap inflicts lethal damage over time. Vision Cage hides your approach but requires skillful timing. Smoke has synergy with Jaguar’s ultimate detection radius. |
| Chum | Chomper Pet (77 DMG Explosions), Trip Wire (Quick Trigger), Standard Smoke (Optional Variation) | Chomper follows and targets the nearest foe, delivering around 77 DMG. Trip Wire controls small corridors. Standard Smoke is overshadowed by better smokes, though combining it with Chomper helps close in. |
| Corona | Dash (Short Teleport), Fire Pool (Minimal Tick DMG), Flashbang Ultimate (Paired with Dash) | Quick dash helps cross open space safely. Fire Pool blocks small entrances with moderate damage. Flashbang Ultimate stuns targets in line of sight, but timing must be precise. |
These B-Tier Fragpunk Lancers require careful planning to succeed in fast paced matches. Jaguar’s damage trap catches careless foes and Chum’s Chomper punishes players who get separated from their team. Corona’s dash-plus-flash combo also blindsides opponents when used correctly. Each one demands good reads of the battlefield to outmaneuver higher tier picks. With the right team composition they can give unexpected wins.
Advice for All Lancer Roles

Many new and experienced Fragpunk players want to maximize each Lancer’s potential. Knowing the abilities, map, and synergy with teammates elevates performance. Knowing which roles fit in which modes determines success. The next list covers general tips for these unique heroes. Adapt these to your playstyle and team objective.
- Establish Early Vision – Lancers with scouting tools (like Kismet or Hollowpoint) should gather intel on enemy positions from the start.
- Combine Utility – Smokes or walls from multiple Lancers create a layered defense that reduces flanking risk.
- Focus on Intel – Drone usage (from Nitro) and reveal abilities (from Kismet and Sonar) prevent surprise attacks by revealing hidden threats.
- Manage Ultimates – Wait with powerful abilities (like Zephyr’s invisibility or Pathojen’s poison pool) for better timing in crucial fights.
- Spread Map Pressure – Teleporters from Spider or Serket allow for fast rotations to split the opponent.
- Trigger Aggressive Pushes – Caget or Fire Pool from Corona denies enemy movement, followed by a flash or flank to finish.
- Conserve Resources – Lancers with limited abilities (like Jaguar’s trap or Axon’s sticky grenades) use them wisely.
These tips help deepen your understanding of each Lancer role in Fragpunk. Teams that value early vision shut down enemy plays with minimal losses. Coordinated synergy multiplies the effect of specialized abilities, whether through layered smokes or repeated reveals. Resource management is another key element, as overusing walls or traps weakens later defenses. Being flexible in your approach prepares your team for sudden changes in each round.
My Thoughts on Fragpunk Lancers Tier List

This Fragpunk Lancers Tier List is based on countless hours of playtesting and observation. Each Lancer has a unique playstyle that rewards creative thinking and patience. S-Tier champions are at the top with unmatched synergy and damage, A-Tier picks are just shy of that and B-Tier lancers will surprise opponents who don’t pay attention. Master any Lancer and you’ll be a Fragpunk boss.
Future updates in Fragpunk might change these rankings as new heroes or balance changes come in. The best approach is to stay up to date and adapt. Some characters might climb to S-Tier or drop to B-Tier post patch. Stay informed and you’ll be ahead of the curve. Each Lancer on this list has a place in the meta, as long as you put in the work. Every Fragpunk team composition requires damage, support and intel. Teams with S-Tier or A-Tier lancers open up huge plays, but B-Tier lancers are still viable in the right hands. Knowing your hero’s kit is key to survival. Watching other teams react to specific Lancers will give you ideas for next game. Success comes from trying, refining and trusting yourself.